
Are you facing Error 1606. Could not access network location when installing or opening any Autodesk products? This article will help you to solve this error.
One of my blog readers contacted me on Whatsapp asking for assistance in fixing this error. For me to be able to help solve this error, I had to understand what was causing this error and then look for a solution. It took me about two days to find a solution, and here I am to save your time to help you fix this error.
The reader was facing Error 1606. Could not access network location? while installing AutoCAD 2018. The same error may occur with other Autodesk products like 3Ds Max, Revit, Revit LT, Maya, Maya LT, AutoCAD Architecture, AutoCAD LT, ArtCAM, Civil 3D, Inventor, Flame, BIM 360 etc. Users may face this error during installation or when opening an Autodesk product.
The error I was dealing with was as below;
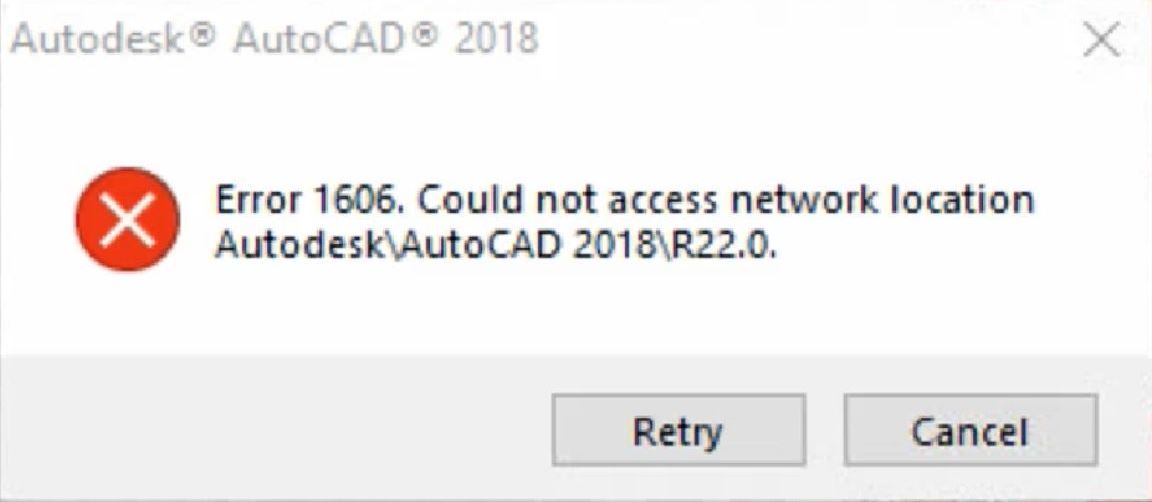
Error 1606. Could not access network location?
Autodesk\AutoCAD 2018\R22.0
with the options of Retry and Cancel.
The error message’s path may differ in each case based on the Autodesk product and its location. Let’s try and understand the reason for this error.
Reason:
- The most common reason is folder restriction. Folder restriction is unsuitable for any Autodesk products and may cause installation or startup errors.
- You may have installed Autocad or any other AutoDesk products previously and uninstalled it subsequently but did not remove it completely.
- Inappropriate Window registry settings of Shell Folders or User Shell Folders.
- User or public profile folders are missing or restricted.
- The operating system is corrupt.
Solution:
There are several reasons which can cause this error, and therefore there are several solutions to resolve this error. We will start with the most workable solution.
01. Review and set correct Shell Folder registry keys
There are four registry keys we have to check in the Shell Folder and User Shell Folder. If they are not there, we have to create them. Follow the steps below to review and create the Shell Folder registry keys.
- Type Regedit in the search box next to the start menu, right-click on it and open run as administrator.
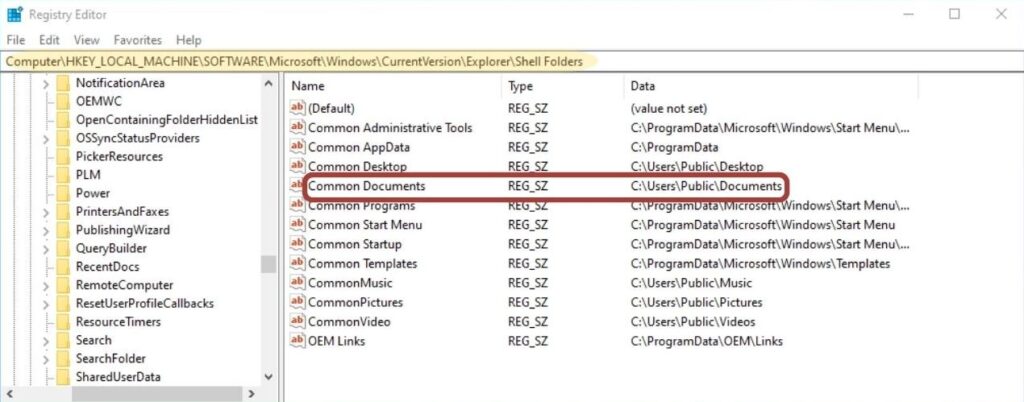
- Navigate to HKEY_LOCAL_MACHINE\Software\Microsoft\Windows\CurrentVersion\Explorer\Shell Folders in the registry editor.
- Check for the registry Common Documents. If it is there. Confirm its field value
- Name is Common Documents
- Type is REG_SZ
- Data is C:\Users\Public\Documents
- If you do not see the registry key Common Documents from the previous step, create it by following the steps below;
- Right-click on Shell Folders on the left navigation pane, go to New and select String Value.
- It will create a key with the name New Value #1. Rename it to Common Documents, set its type to REG_SZ and set C:\Users\Public\Documents in the data.
- Go to the path using File Explorer and confirm that the folder exists under C:\Users\Public (It can be a Document or a Public Document). If it does not exist, create a Documents folder.
- Repeat steps 3 and 4 for the Common Documents key in HKEY_LOCAL_MACHINE\Software\Microsoft\Windows\CurrentVersion\Explorer\User Shell Folders in the registry editor.
- Repeat steps 3 and 4 for the Common Documents key in HKEY_LOCAL_USER\Software\Microsoft\Windows\CurrentVersion\Explorer\Shell Folders in the registry editor.
- Repeat steps 3 and 4 for the Common Documents key in HKEY_LOCAL_USER\Software\Microsoft\Windows\CurrentVersion\Explorer\User Shell Folders in the registry editor.
- Try to install AutoCAD or any Autodesk products you were trying to install to confirm whether this solution has fixed your problem. If this does not solve the error try the next solution
02. Verify the following to correct missing profile folders
- Type Regedit in the search box next to the start menu, right-click on it and open run as administrator.
- Navigate to HKEY_LOCAL_MACHINE\Software\Microsoft\Windows\CurrentVersion\Explorer\Shell Folders in the registry editor.
- Check the public profile paths (Highlighted in the image below). If they are redirected to a different drive or folder, change them to the original default location C:\Users\Public\…
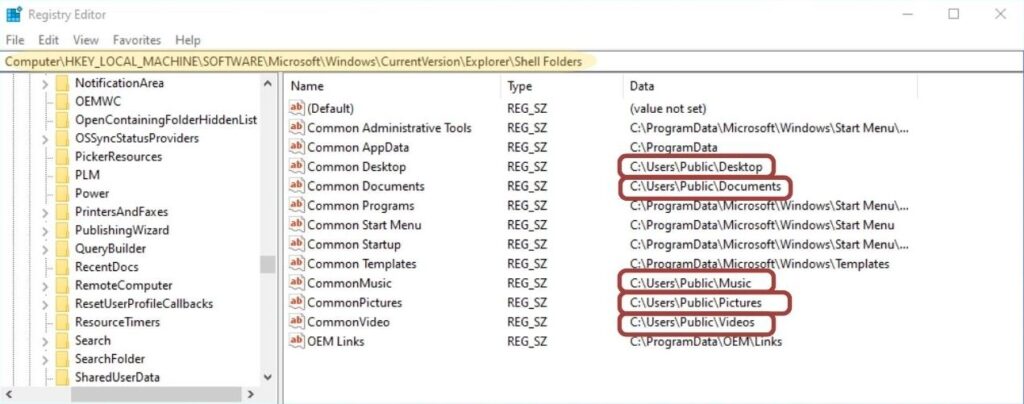
- Check that the folders exist in the public profile in C:\Users\Public…. If they do not exist, create them manually.
- C:\Users\Public\Desktop
- C:\Users\Public\Documents
- C:\Users\Public\Music
- C:\Users\Public\Pictures
- C:\Users\Public\Videos
- If this does not solve the error try the next solution.
03. Remove the traces of previous installation(s)
There are two methods to do this. Complete method-01 first and then move on to method-02 to ensure complete removal of traces.
Method 01: Remove the traces of the previous installation using the Revo uninstaller
This method could almost clean 98% of the traces of previous installations and at times can clean 100% of the traces. Follow the steps below to remove the traces of the previous installation.
- Download Revo Uninstaller free version.
- Install Revo Uninstaller.
- Disable antivirus, windows defender and firewall prior to performing the uninstallation process.
- Open Revo Uninstaller.
- Select the AutoDesk product’s software or element one by one that you would like to clear or uninstall.
- Uninstall using advance mode.
- Select all and click on delete or uninstall.
- After removing all traces of Autodesk product’s particular version, restart your computer.
Click here and watch the video from 5:25 to 10:00 if you have a problem understanding steps 1 to 6 above.
Method 02 : Remove the traces of the previous installation using Microsoft Installation Troubleshooter
- Go to this link and click on Download troubleshooter to download Microsoft Installation Troubleshooter.
- Run the downloaded file and click on the Next button.
- Click on Uninstalling.
- Choose your AutoDesk program and click on Yes, try uninstall.
- Repeat this until you remove all the elements of your AutoDesk program that could create this problem.
- After removing all the traces of Autodesk product’s particular version, restart your computer.
Click here and watch the video from 10:10 to 12:02 if you have a problem understanding steps 1 to 6 above.
After performing both traces cleaning methods, confirm this solves your error. If it does not, follow option 04.
If you have any issues with the procedure or have not been able to resolve the error, please feel free to reach out to me using the Whatsapp button How may I help you? Below or by using the comment box.